Adding routine aeration to compacted soil is not an optional maintenance practice but a necessity. Do you ever wonder why some lawns have thick soils with bare grass spots and yellowing leaves? That’s the result of untreated soil compaction.
Luckily, soil compaction solutions are easy to manage and provide when you’re dedicated. The most common one is lawn aeration to open up the soil for airflow.
You can use DIY lawn aeration to relieve compacted soil, improve airflow and nutrient absorption, and support healthier lawn growth at little to no cost.
Check out the practical lawn aeration tips in this guide to get started.
Importance of Aeration for Healthy Lawns
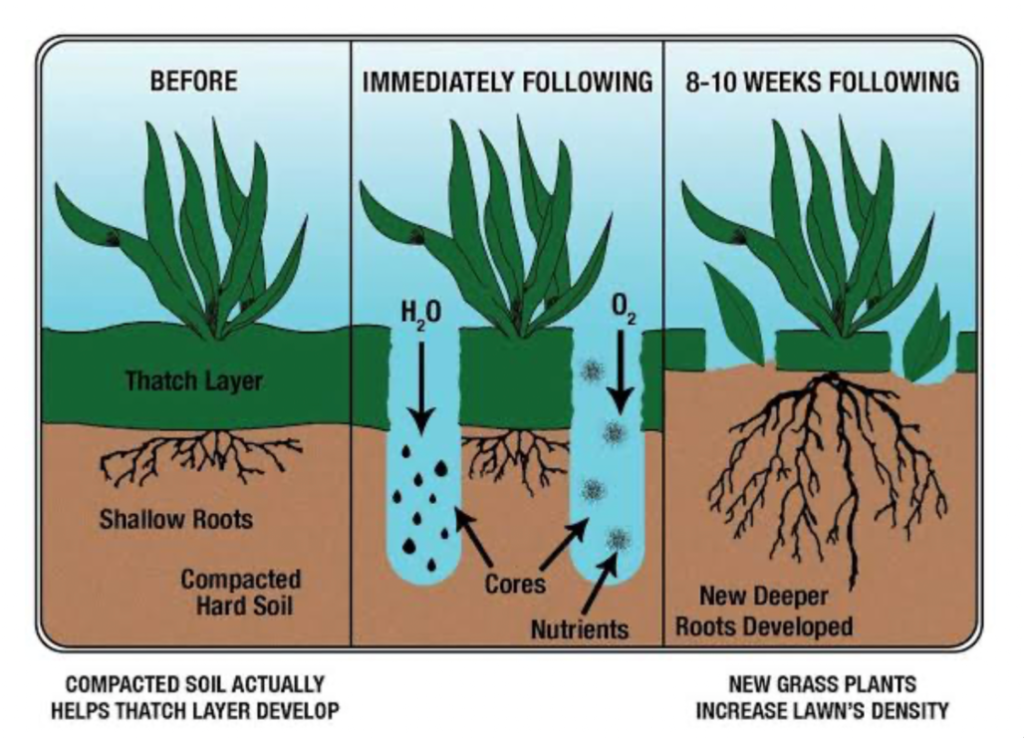
Understanding basic lawn aeration benefits inspires you to provide the best care for your lawn. Lawn aeration is essential for root development, moisture absorption, and long-term lawn resilience in compacted soil conditions.
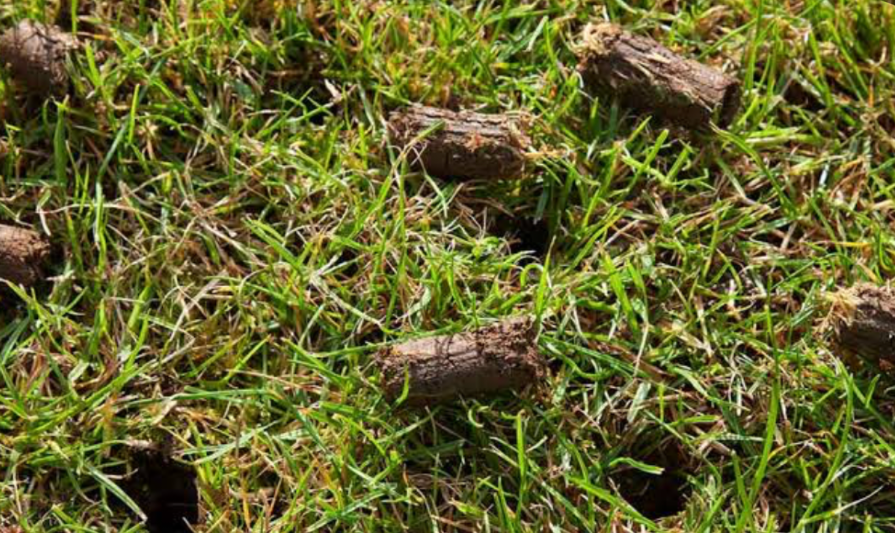
Breaking compaction allows better soil oxygenation, circulation, and flow of other essential nutrients to the parts of the grass that support healthy growth. With a properly aerated soil, you’ll have better grass root growth because there’ll be more space for branching out underground.
Overall, with better nutrient circulation, you’ll build healthy lawn soil to support a lush, resilient, and green lawn.
Benefits of DIY Aeration Methods
Did you know you can have low-budget lawn maintenance costs low with DIY aeration techniques? Once you see these DIY aeration benefits, you’ll understand why handling your maintenance can be more fulfilling and smarter than hiring experts.
With self-lawn aeration, you have better control of timing and frequency based on your lawn’s condition. Using basic home lawn care tips also saves costs and offers flexibility since homemade materials are cheap and accessible.
So, let’s review what soil compaction is and why it’s so bad for your lawn.
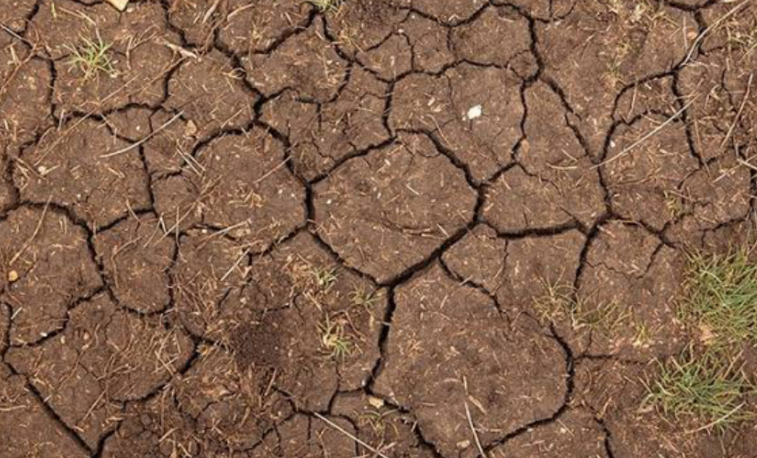
Understanding Compacted Soil Issues
Compacted soil problems arise from the accumulation of organic waste, which clumps your soil and blocks the free flow of nutrients through air and water.
Having a compacted lawn affects water infiltration and nutrient flow, which ultimately restricts healthy grass growth. Here’s how it works:
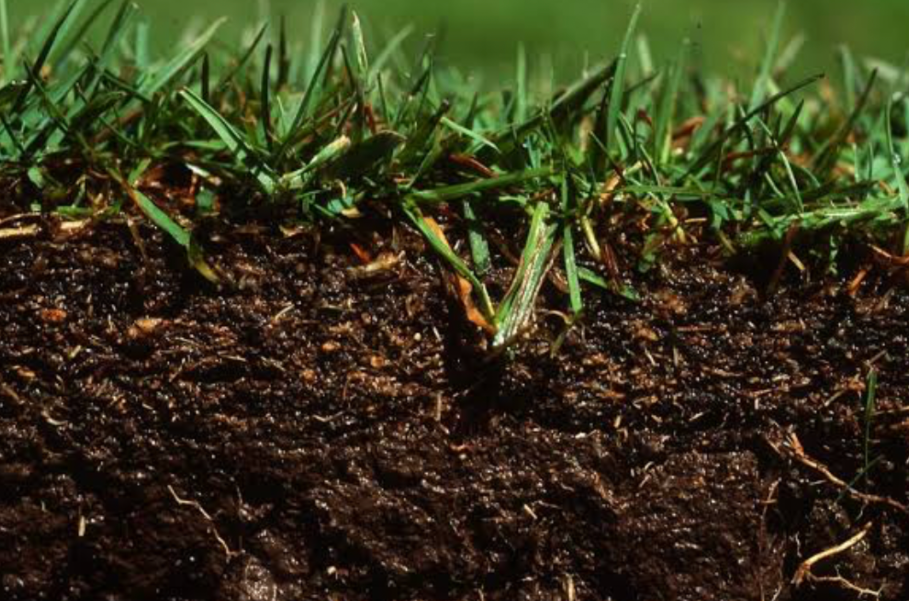
Soil compaction causes poor lawn drainage, leading to water pooling and runoff rather than infiltration into the soil. Also, compaction leads to denser soil, with issues such as limited oxygen circulation, increased weeds, infertility or low fertility, crusty lawns, and bare or patched spots.
Common Causes of Soil Compaction
Knowing the signs is one part; understanding the causes of soil compaction helps you avoid and prevent it.
Heavy Traffic
Heavy lawn traffic damage is the leading cause of compacted soil, whether it’s from heavy foot traffic in small lawns or vehicles and machinery usage on larger soils.
Clay-Heavy Soil
Another trigger is the soil type itself. Clay soil compaction is common because its texture is too fine and prone to clumping when there’s water.
Excess Moisture and Lack of Organic Matter
Overtilling your lawn causes heavy soil pressure and reduced friction. It also degrades the soil’s organic matter, making it muddy, so watering it leads to compaction. Over time, the compacted soil becomes rocky and harmful to your lawn’s health.
Signs Your Lawn Needs Aeration
You can see physical signs that your lawn needs aeration through visible changes. These compacted lawn symptoms first show up as pooling water, thinning grass, spongy surfaces, and poor growth patterns.
You’ll notice poor grass when your lawn is filled with yellowing or off-color leaf blades, uneven sprouts, shallow and stunted roots causing loose grass, and lower branching.
Meanwhile, lawn drainage issues manifest as hard soil, foul smells, waterlogging, runoff, and crusty surfaces.
Once you notice these symptoms, get your tools and equipment ready for aeration.
Tools and Equipment for DIY Lawn Aeration
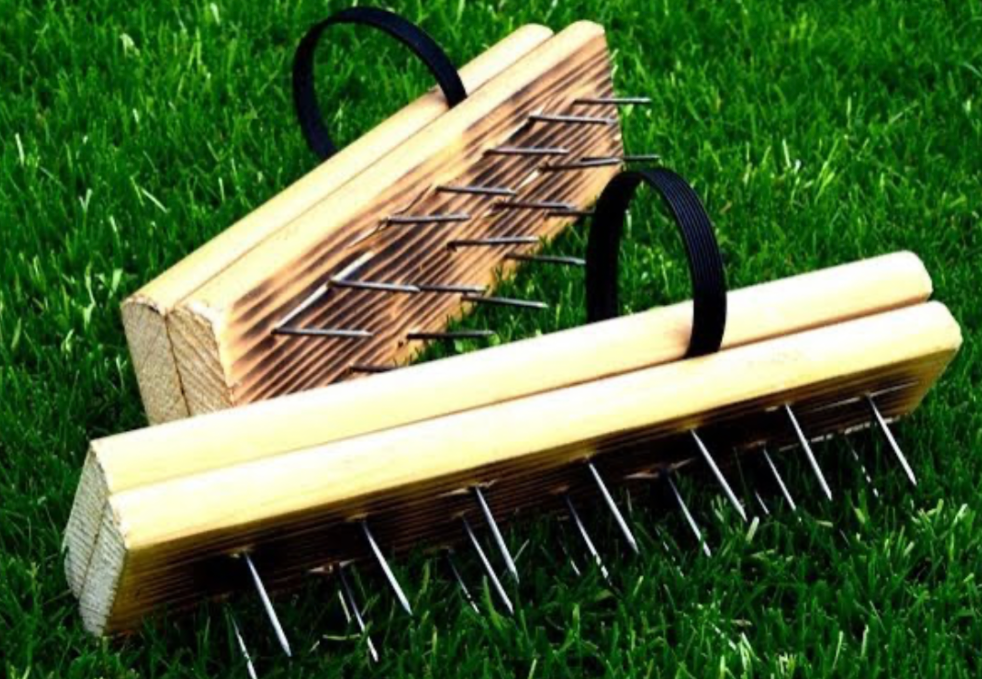
You can make DIY aerator equipment for manual aeration in small lawns with light compaction. However, you’d need advanced, high-powered lawn aeration tools for larger areas with deeper compaction.
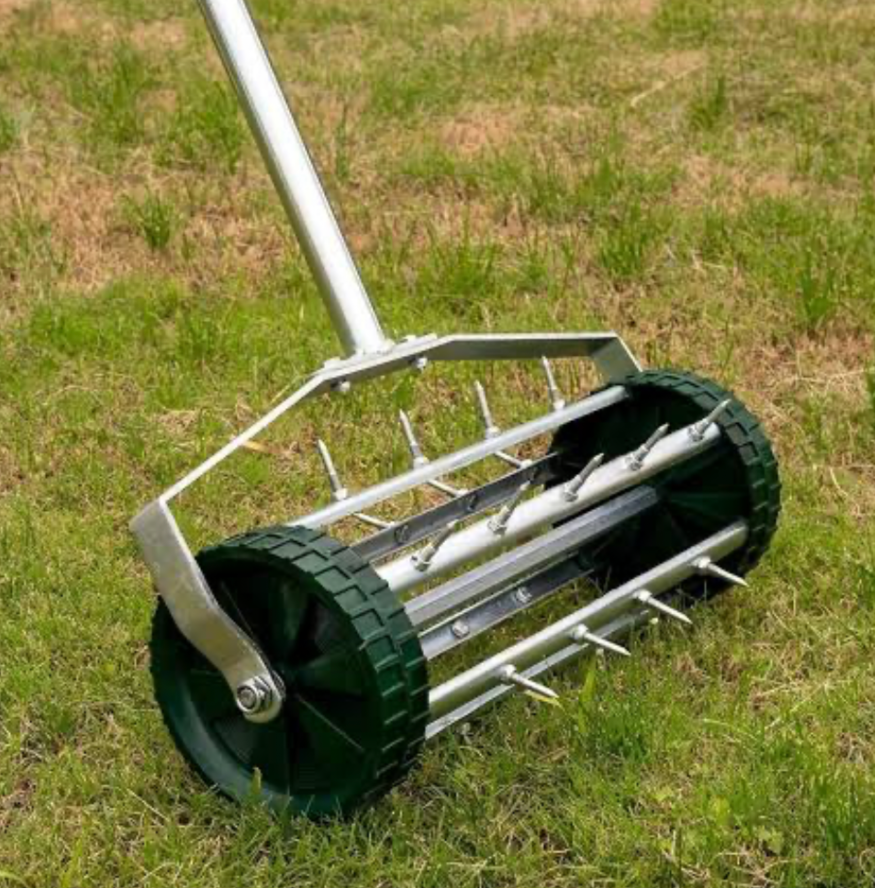
DIY Aeration Tools
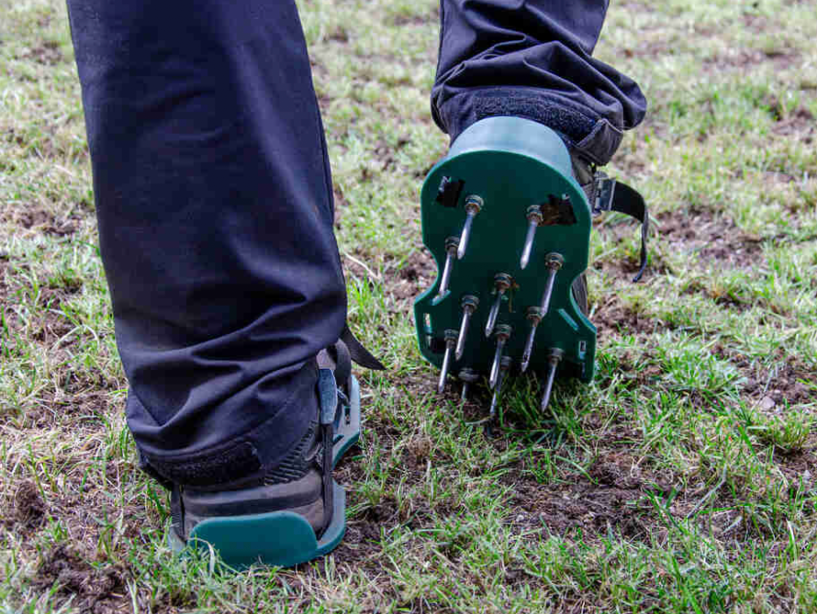
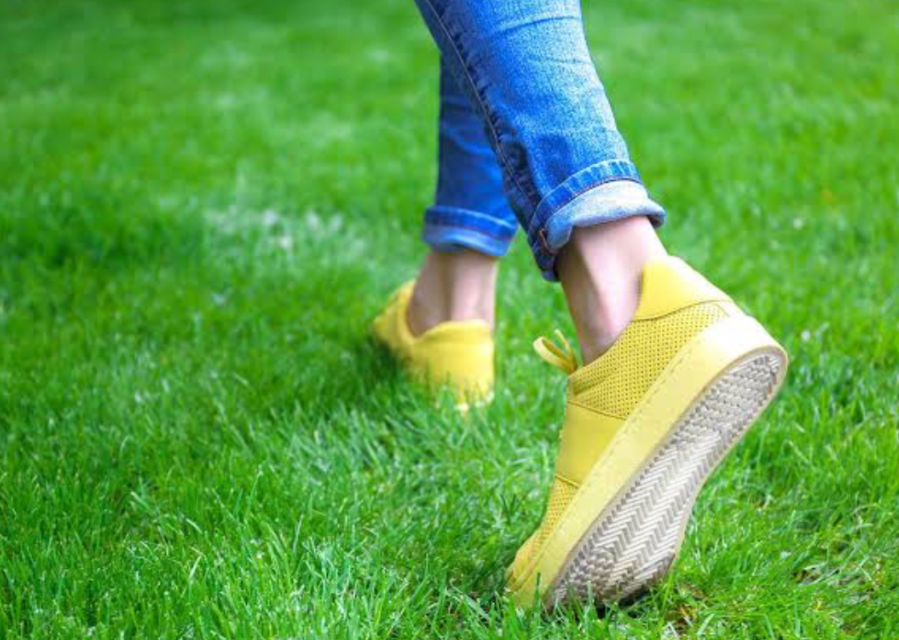
You can use basic home lawn tools, such as a garden fork, a spiked shoe, or a drill bit, to break compaction. Note that spiked shoe manual aerators will compact lawns further, so use them only for small areas.
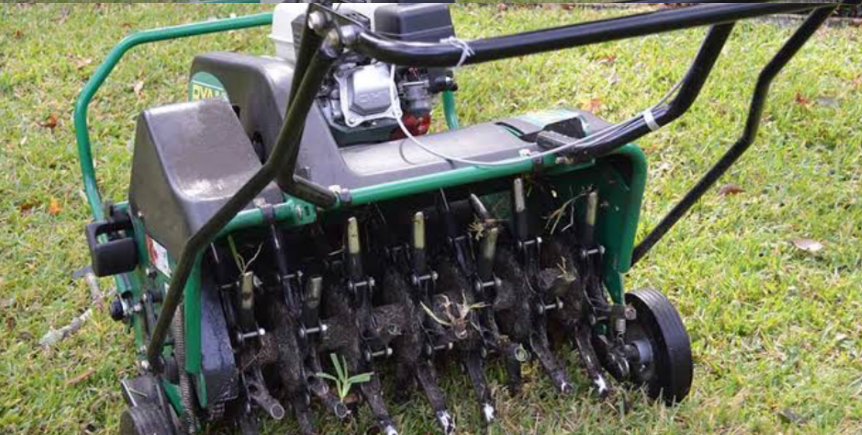
High-Powered and Manual Aeration Tools
For more advanced compaction, get unique aeration supplies, such as a core aerator or a handheld aerator.
Essential Tools for Aerating Your Lawn

Other essential DIY lawn care tools for prep, aeration, and after-care include:
- Lawnmowers
- Rakes ]gloves
- Powered or manual lawn aerator
- Gardening shoes
- Garden hose or Sprinkler
Make a lawn aeration tools list before you start working to ensure you have everything you need. Now, let’s choose your ideal grass aeration equipment.
Manual vs Powered Aerators: What to Choose
With this lawn aerator comparison, you’ll be able to choose the right aerator for your lawn. Consider the lawn size, effort required, budget, and soil compaction severity when choosing a lawn aerator.
Here’s a table showing the benefits and disadvantages of manual vs powered aerators.
| Manual Aerator | Powered Aerator | |
| Advantages | Budget-friendly Quiet Precise Eco-friendly Easy-to-Use | Time-saving Low-effort Efficient for large areas Deep reach |
| Disadvantages | Labour-intensive Slow Covers small areas | Expensive Noisy No precision Not eco-friendly Technical-to-use |
A manual tool is the best aerator for home lawns since it allows concentrated work. However, if you’re considering a gas aerator vs. a manual tool, note that gas aerators run on gasoline engines.
Step-by-Step Guide to DIY Lawn Aeration
As a beginner, read this part for a step-by-step guide on how to aerate a lawn.
- Step One: Clear the Area. Before aerating compacted soil, ensure you clear the area using a rake.
- Step Two: Mow the lawn
- Step Three: Water lightly
- Step Four: Wear protective gear
- Step Five: Aerate with your tool by working in parallel lines and then cross for maximum efficiency.
- Step Six: Water lightly
- Step Seven: Aftercare. Fertilize the soil and overseed it to fill bare spots.
Follow these DIY lawn aeration steps for optimal results. You can use this home aeration guide for your outdoor lawn and garden beds.
Aeration Techniques for Different Grass Types

Focusing on grass-type aeration maximizes efficiency by leveraging natural patterns and habits to enhance results. If you don’t know about seasonal lawn aeration, don’t worry, here’s a crash course.
Every grass species falls into one of two groups: cool-season or warm-season. These groups depend on the season in which the grass thrives.
When planning aeration for cool-season grasses, such as Kentucky Bluegrass and Fescues, do it in late Spring or early Fall. Meanwhile, aeration for warm-season grasses such as Bermuda, Zoysia, and St. Augustine works best in late Spring or early Summer.
Best Practices During Lawn Aeration
Essentially, all lawn aeration best practices focus on using timing, weather considerations, and spacing techniques to maximize efficiency. Working during dormancy, waterlogging the area or forgetting to water it at all, and skipping aftercare are aeration mistakes to avoid.
These aeration timing tips will help you avoid these mistakes:
- Target peak growing seasons
- Avoid dormant periods
- Moisten the soil at least a day before aeration
Proper lawn aeration requires quality equipment because sharp tines work better than blunt ones.
Aftercare for Newly Aerated Lawns
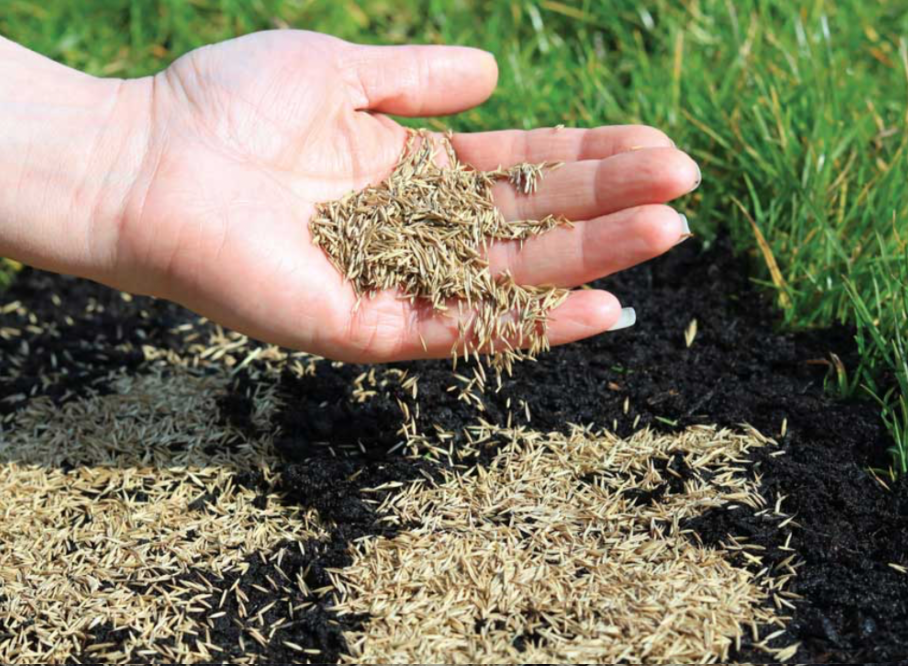
Lawn aeration aftercare is necessary for boosting growth in newly aerated lawns. This post-aeration lawn care includes basic practices such as watering, composting, and fertilizing, as well as overseeding to support recovery and speed regrowth.
When watering after aeration, keep the frequency to about 1-2 times daily to avoid waterlogging the area. Continue the process for about two weeks before reducing the frequency to every other day for another two weeks.
Don’t wait longer than 24-48 hours before fertilizing an aerated lawn to ensure nutrients penetrate deeply into the plugged holes. There’s also better nutrient uptake after aeration, so it benefits your lawn’s health long term.
Quick Tips to Help Lawn Recovery
Grass healing after aeration can be tricky, but understanding the causes of compaction makes it easier to ensure smooth recovery. Follow these lawn regrowth tips for success. Start with limiting foot and machinery traffic immediately after aeration. Then, regulate post-aeration watering using the after-care schedule stated above. Finally, adjust the mowing height to 1-2 inches above the ground.
Use these lawn recovery tips to support after care and maximize your aeration.
Final Thoughts on DIY Aeration for Compacted Soil
Can you now see how easy it is to break lawn compaction when you follow the easy DIY lawn aeration tips in this guide?
You can either use manual compacted soil solutions for small yards and compact garden beds or automated high-powered equipment for larger lawn areas. Consistent aeration and lawn maintenance would improve your soil structure, build resilient grass roots, and support a longer-lasting, lush, green lawn
In summary, a healthier lawn care routine is the only secret to growing a healthy lawn.
